This section helps with configuring the MediaMark. If you need help with installation, please see this.
Once you have activated the plugin, please visit Dashboard->MediaPress->Settings and click on “MediaMark” panel as shown below.
Under MediaMark panel, you will see the Settings for MediaMark.
It is divided into three sections.
General Settings:-
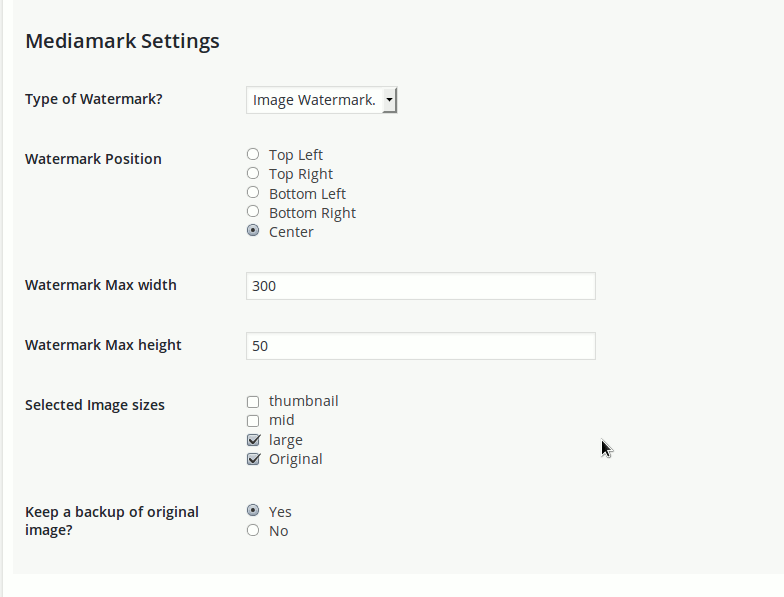
Settings:-
- Type of Watermark:- You can either choose text watermark or image watermark
- Watermark Position:- Where the watermark should appear in the image
- Watermark Max width:- Maximum allowed width for the watermark
- Watermark Max height:- Maximum height of the watermark. if the used stamp for watermark is larger, it will be scaled down based on the max height and width details.
- Selected Image Sizes:- You can select the image sizes to which the watermark will be applied.
- Keep a backup of original image:- Only needed if you have selected “original” from the previous settings. Do you want to keep a copy of original image( in case you need a watermark free image in future)
Image Watermark settings:-
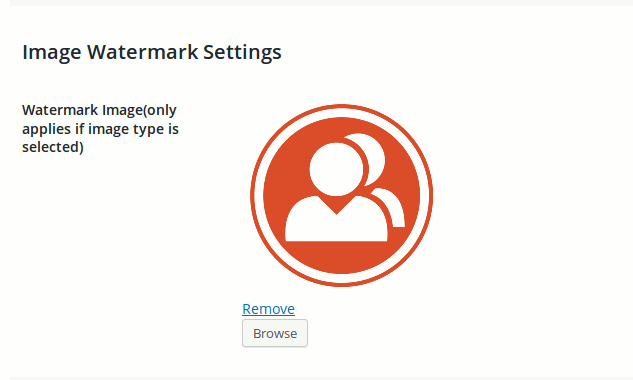
You can select the image which will be used to watermark other images. Transparent backgrounds are supported.

As you can see, you can set “Watermark text”, font size, font family, and color( Please make sure it is HEX color with 6 digits). We plan to provide a color picker in near future.
That’s all. Please see the MediaMark plugin page for more details & Screenshots.