Better User Submitted Posts with BuddyBlog Pro
BuddyBlog Pro update is here. It is one of the most amazing update for your preferred BuddyPress user blogging plugin. We have been working on your feedback and this release brings some of the most needed functionalities while preparing ground for the future.
The new release brings you the following features:-
- Use dedicated page for writing/editing posts
- New Core Field Type:- Excerpt
- New Custom Field Type:- Date
Also, here is our list of upcoming updates:-
- Option to choose tinymce(our current editor) or Medium editor(for content, excerpt, custom rich text fields)
- Option to allow users see their deleted posts and restore it or permanently delete it(It can be configured).
- Options to enable post preview
- Pay Per Post by selling access with WooCommerce
Using dedicated page for writing and editing blog posts :-
If you have use BuddyBlog Pro to enable front end blogging or content creation on your BuddyPress or BuddyBoss network, you might have already noticed that the post creation and editing forms were shown on user's profile tabs.
We received a lot of request for allowing post creation/editing from single page for better experience. With BuddyBlog Pro 1.1.4, you can have this. You can either keep using the old way, or you can create a page, put a shortcode(coming up shortly) and select it in the settings. if the page is selected, It will be used for post creation/editing.
Screenshot 1:- BuddyBlog Pro Post type settings tab(Create section) showing the shortcode for the current post type and the ability to select a page for writing.

If you do not select a page, BuddyBlog Pro will show the create/edit forms on user's profile as it did earlier.
In order to use an standalone page for writing/editing, you will need to copy the shortcode from there and add it to a page and then select that page as Create page.
Here are the steps for the same.
Step 1:- From Dashboard->Pages-> Click "Add New", You will see a new page scree. Please add your title.
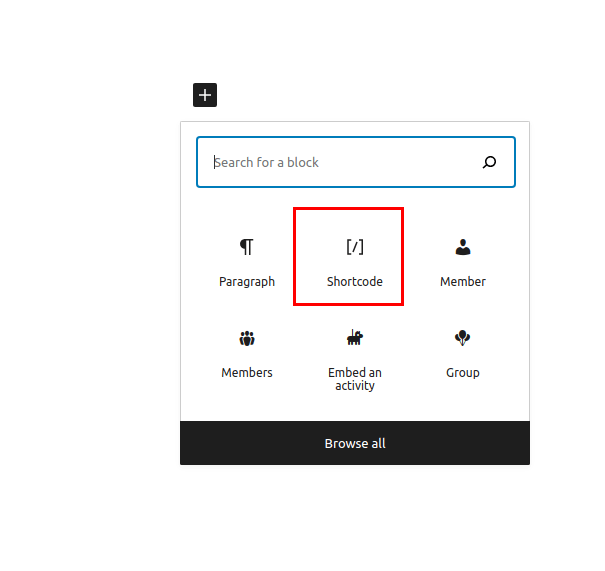
Step 2:- Select the Shortcode block in the block editor as shown below(You do not need this step for the classic editor)
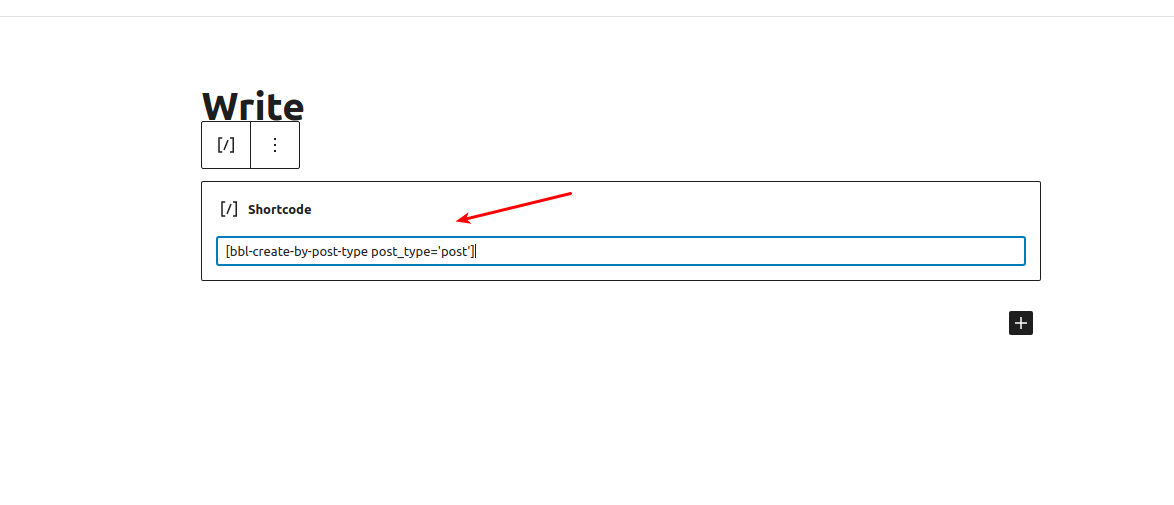
Step 3:- Paste the shortcode(It will depend on your post type, here is mine using 'post' post type).
 Now, Please publish the page and go back to settings for that post type.
You should select this page for Create page as shown below.

Save the settings and visit the write page. If you have allowed post creation, it will show the post form.
Here is a screenshot showing the post form with BuddyBoss theme.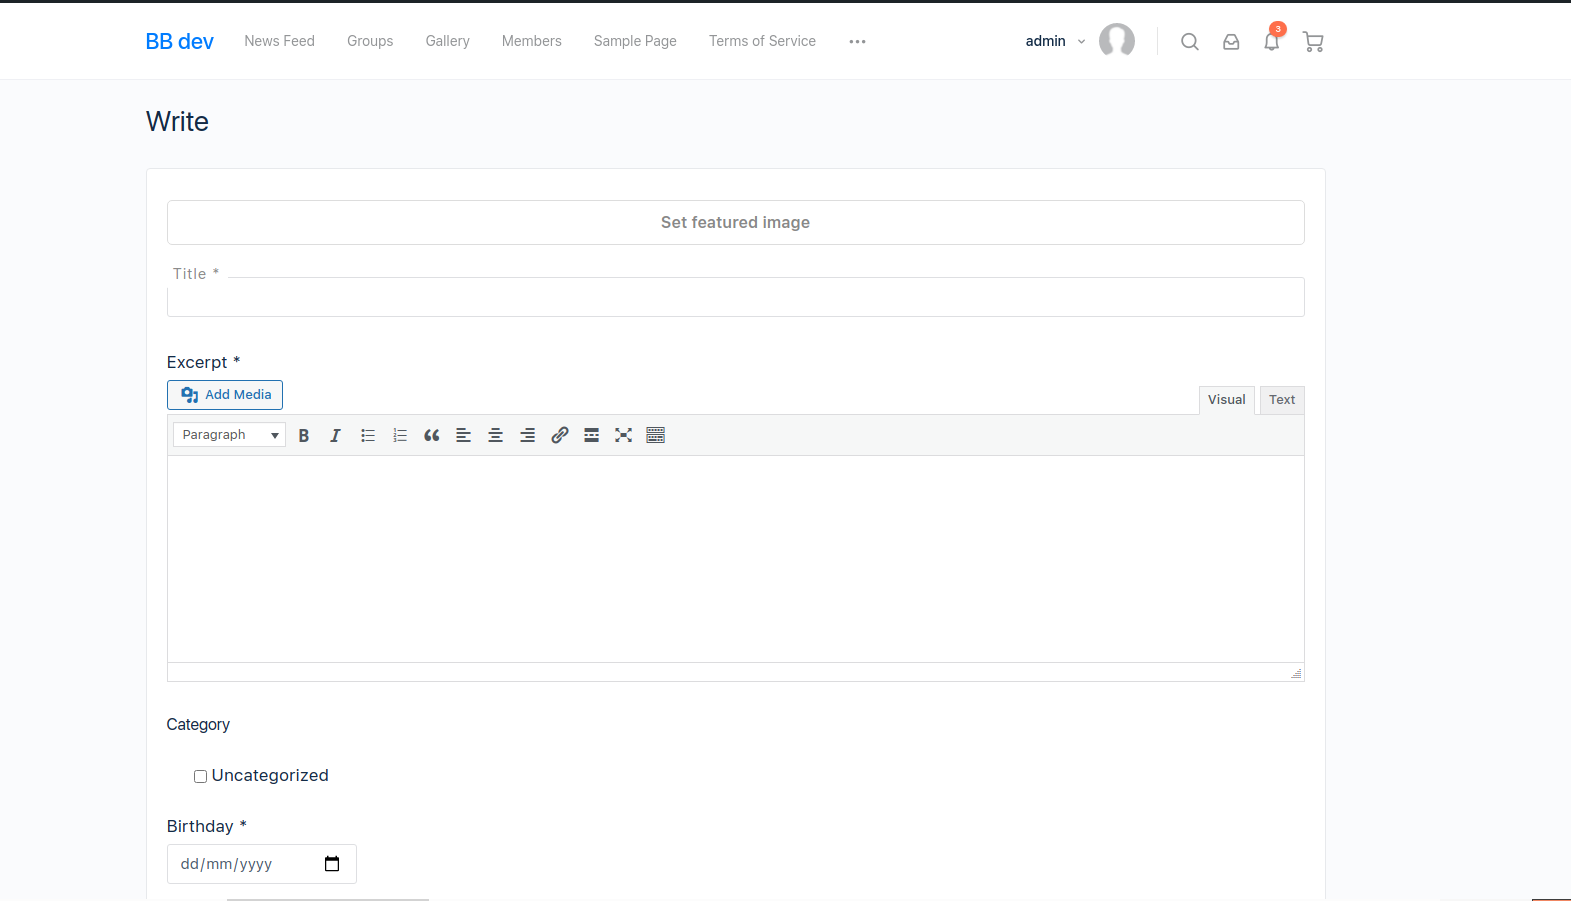
It may be different for you based on your theme.
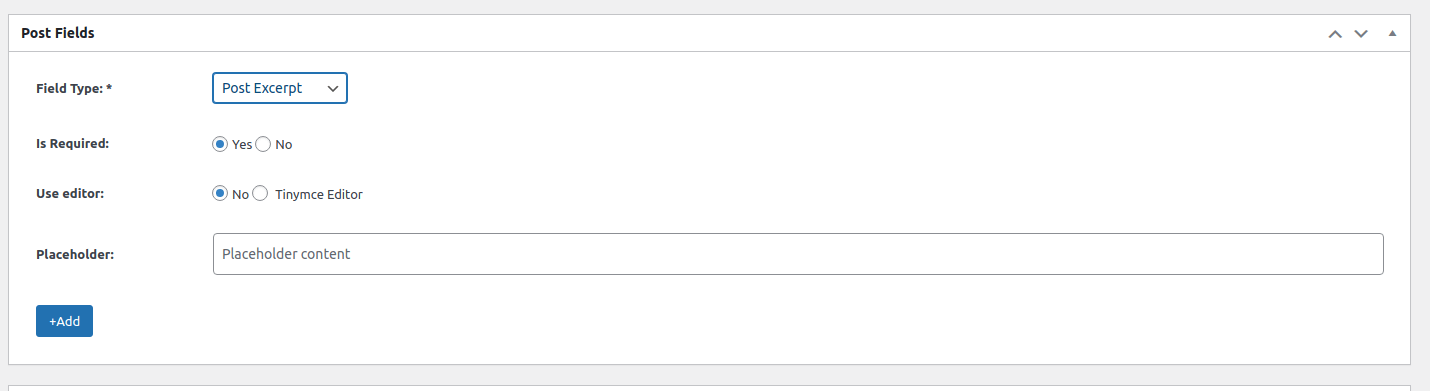
Excerpt Field Type:-
This is available under Posts fields section. You can use it to allow user create custom excerpts for the post. Here is a screenshot showing the settings.
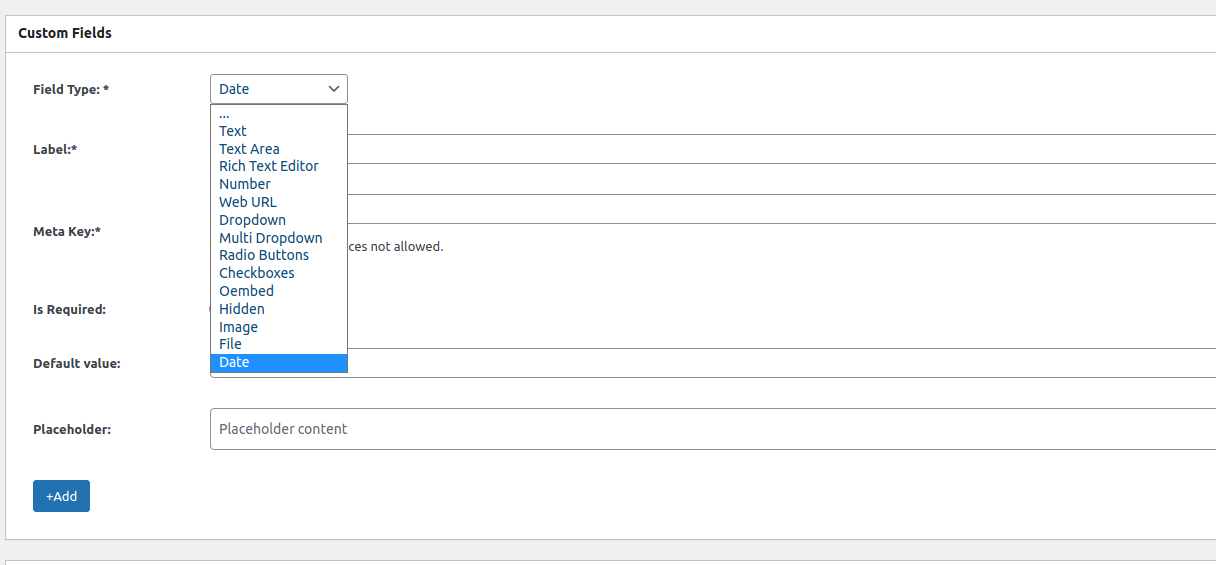
Date Field Type:-
The date custom field type is available under custom field types section. Here is a screenshot showing the field type in the dropdown.
Other than these major changes, there are a number of changes under the hood that prepares group for future. For example, with a few lines of custom codes, you can provide your users with starter content for their post.
What's next:-
In next few weeks, we will be focusing on polishing the experience further. Our goal to make BuddyBlog Pro your definitive plugin for all kind of user generated content on your BuddyPress or BuddyBoss based network. If you are looking for any feature which helps you with the user submitted posts creation and management, we are here to help you.
Please keep sharing your suggestions via our support forums, contact form or comment here. We appreciate your support.