This page will help you configure BuddyBlog Pro Form to utilize the Pay Per Post feature.
Prerequisites:-
A published WooCommerce Simple Product that can be associated with the BuddyBlog Pro Form. Please see How to configure WooCommerce Product
Steps to enable Pay Per Post feature in BuddyBlog Pro post form settings:
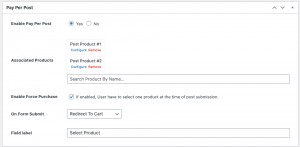
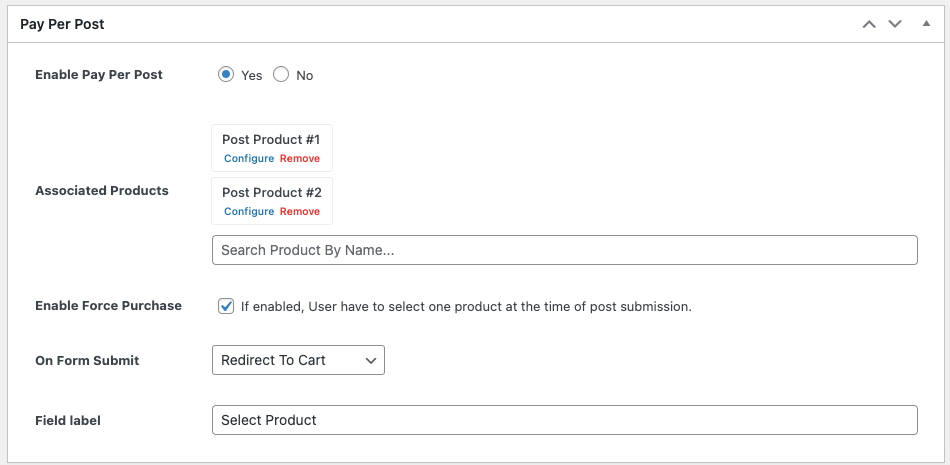
- On the Dashboard->BuddyBlog->Forms->Edit Form page in the admin section, You will find Pay Per Post meta box as shown below. Use it for enable/configure the Pay Per Post feature..
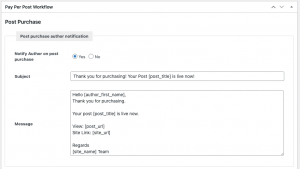
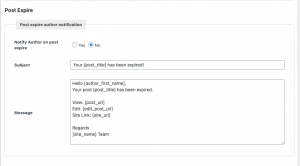
- On the same page, you will find the Pay Per Post Workflow meta box. This allows you to configure the publishing workflow ( whether to send emails to the user on the purchase or expiration).
Settings:-
-
- Pay Per Post Settings
-
- Pay Per Post Workflow On Purchase

-
- Pay Per Post Workflow On Expire

Here is a list of available settings and their purpose.
- Enable Pay Per Post:- Use this to enable the form for paid posting.
- Associated Products:- It allows you to select and associate a WooCommerce product with this form. You can use autocomplete to search for the product. It will only list products which are enabled for ‘Pay Per Post’ plugin( Please see how to enable a product for Pay Per Post plugin). From the autocomplete suggestions you can select one or more product and associate them with the form.
- On Form Submit:- It lest you control where to redirect user on the post form submission. The available options are redirect to cart or redirect to checkout page of WooCommerce.
- Field label:- This field lets you control the name used for the product selection field on the post form.
- Post Purchase Author Notification:- It allows you to configure the email that will be sent to the user on successful post purchase.
- Post Expire Author Notification:- It allows you to configure the email that will be sent to the user on post expiration.