In this step, we will create a google cloud storage bucket to use with our setup. We assume that you have a project and you have created the service account.
Bucket is where your files and stored.
Step 1:- Browse Storage
Please open the left panel as shown below

Once you select “Storage” and click on Browse, you will see your list of buckets. In this case, we don’t have any bucket, so the list appears empty.
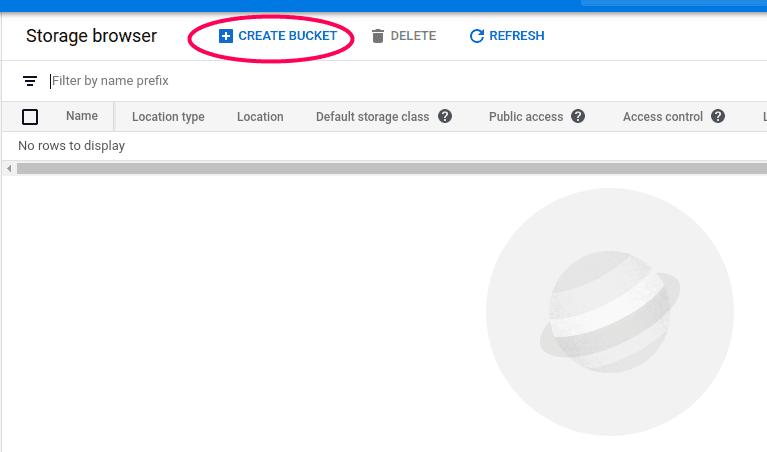
Step 2:- Initiate Bucket creation
Click on the “Create Bucket” button as shown below
It will open a bucket creation wizard as shown below

Step 3:- Enter bucket name. and click “Continue”. In this example, we are using the name public-bucket-1001.
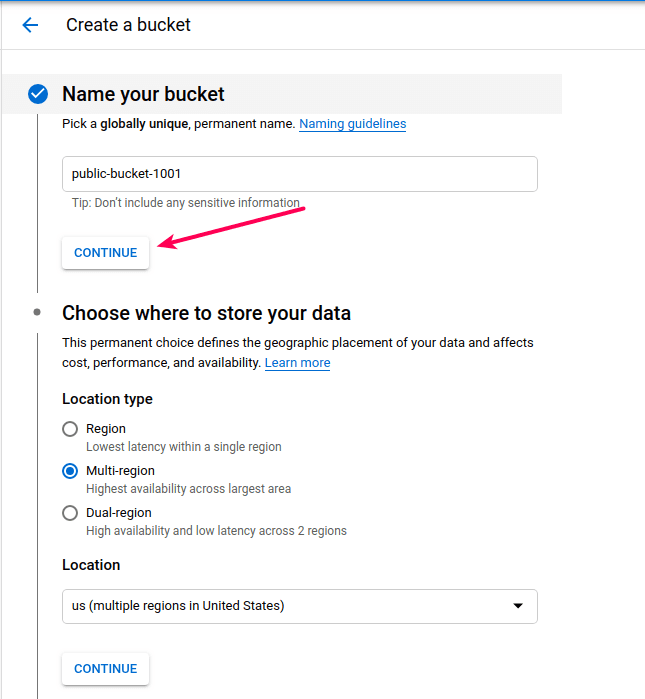
Step 4:- Select Location
Select your preferred location type. We selected “Region” and then selected from the list of region.
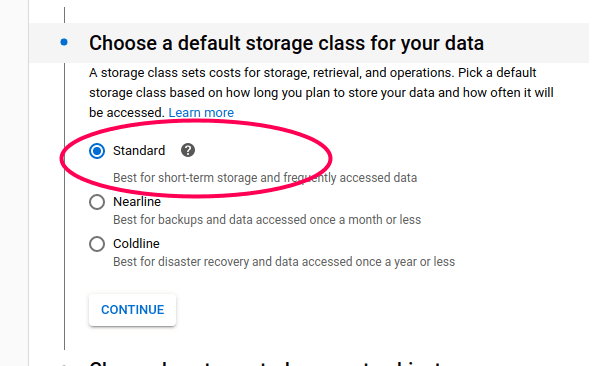
Step 5:- Select storage class
You must select “Standard” as shown below
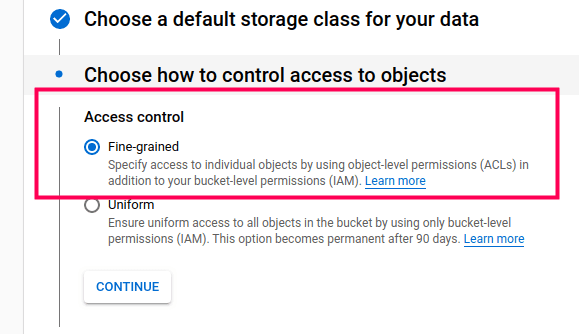
Step 6:- Configure access control
In the next step, Please select “Fine grained control” as shown below
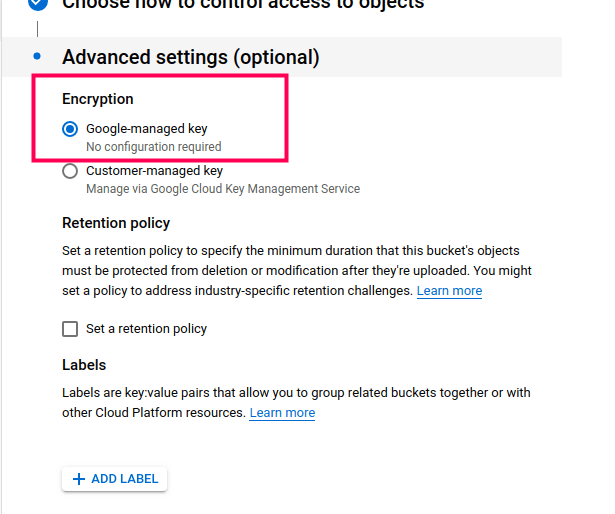
Step 7:- Configure how to manage encryption keys
If you do not understand this step, Select “Google Managed” as shown below
That’s all. When you click “Create”, the new bucket will be created and you will be redirected to the new bucket page.
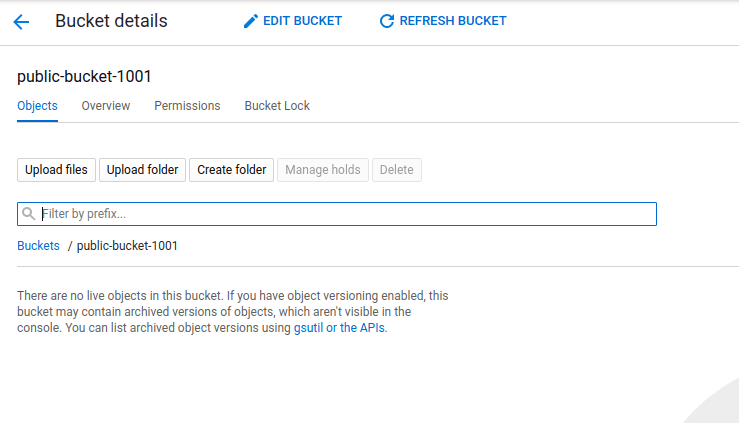
Step 8:- Configuring Public access for viewing files.
We want our files to be viewable by all. To do that, we will need to configure our bucket permission.
Click on the permissions tab and you will see the screen like below

Click on “Add Members” and you will see a popup like this
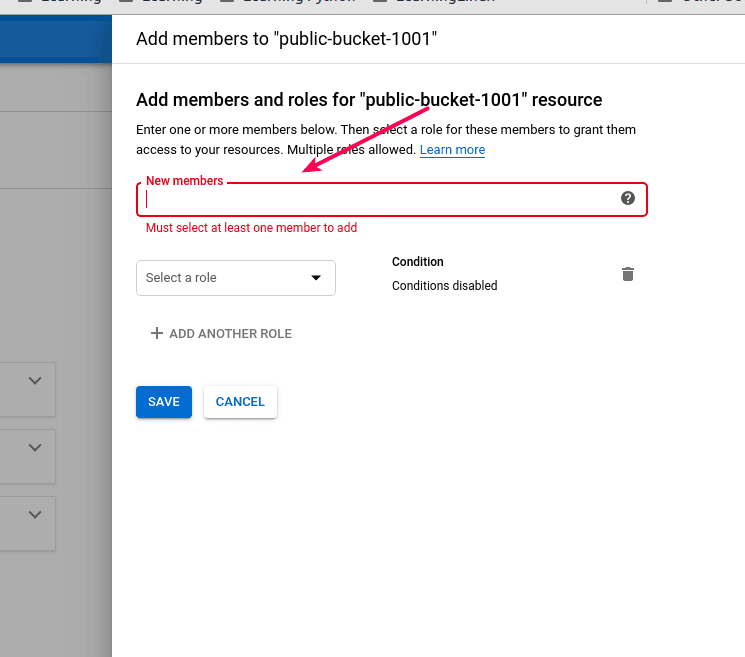
Type “allUsers” and you will see the list that allows you to select “allUsers” from it. Once you select, It will appear as below

Click on the select a role dropdown.
You can filter the dropdown for “Storage” as shown below.
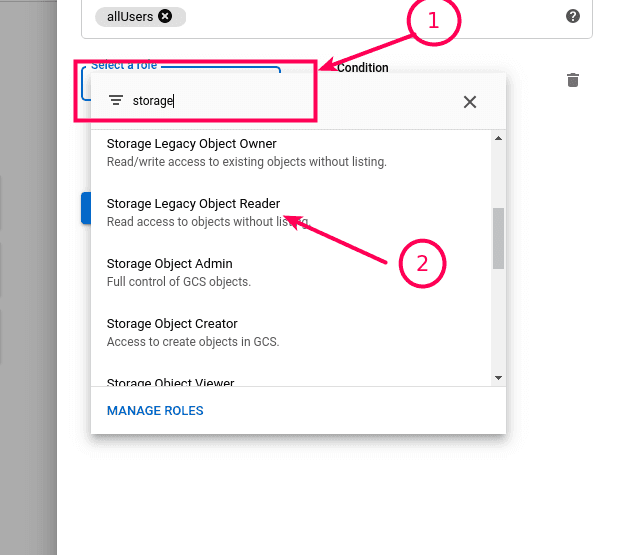
From the list, Please select “Storage Legacy Reader”. It allows viewing the files without listing the folders.

Click “Save”.
Once you save it, you will see the notice like below.
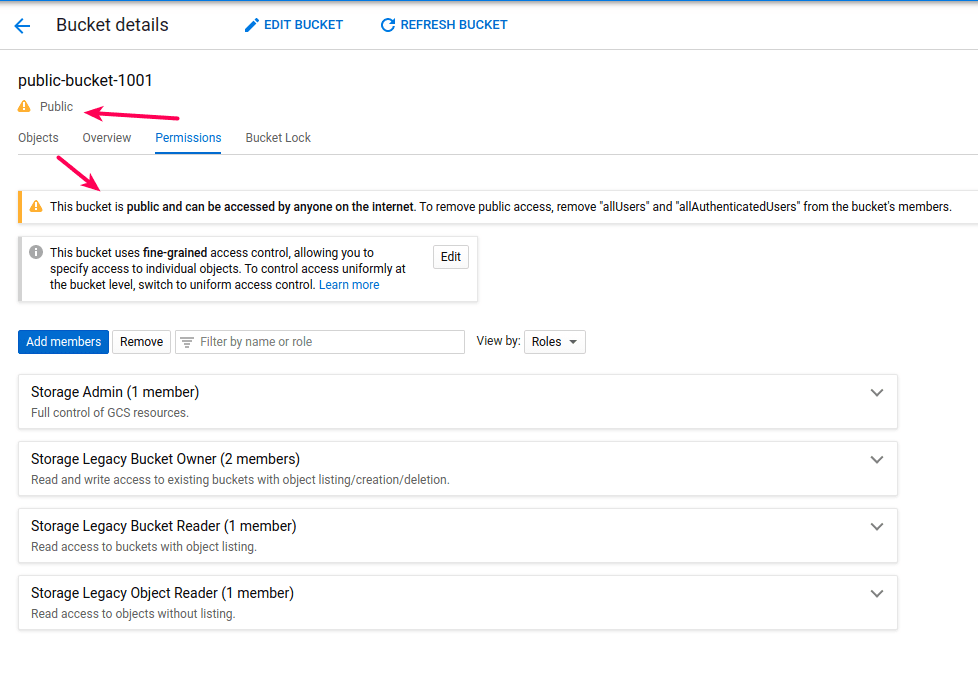
This means that you have added the public view permission and your bucket is ready for the action.
Please configure the WP Cloud storage to use this bucket.