Thank you for purchasing Community Builder.
If you have not yet downloaded the theme, please download it from your BuddyDev account page.
In this guide, we will see how to install and activate the community Builder Theme. We are assuming that you have already downloaded it. The download is named community-builder-x.y.z.zip where x.y.z is the version number.
There are two ways to install Community Builder
Installing via Dashboard:-
- Please login to your Dashboard
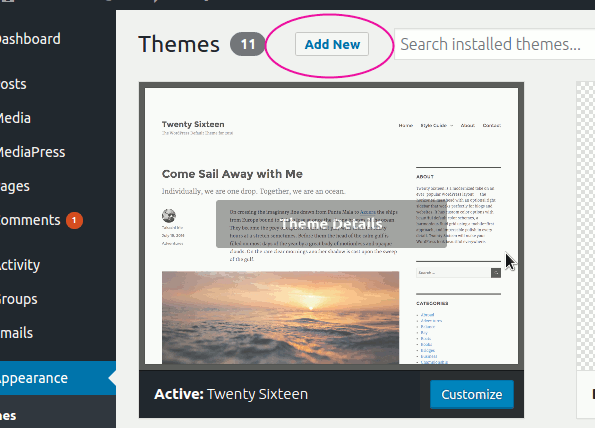
- Visit Dashboard->Themes->Add New

- Click Add New
- Click Upload Theme

- You will see a screen like this
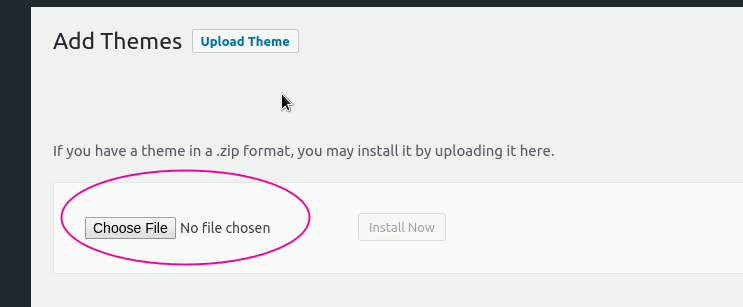
- Click Choose file and Select Community Builder zip file
- Click install
- Click activate
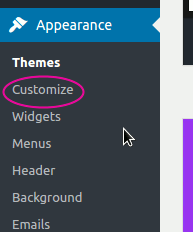
- Once Activated, Please click on Appearance->Customize and start customizing it
- Next Step: Customizing Sites with Community Builder
The following steps are only for those people, who could not install via the WordPress admin screen.
Installing Using FTP:-
We will be using FileZilla as our FTP client in this example, you can use any FTP software.
Here are the steps.
- Extract the community-builder-x.y.z.zip. It should create a folder named “community-builder”.
- Use FTP and connect to your server.
- Navigate to the wp-content/themes directory on your server like this
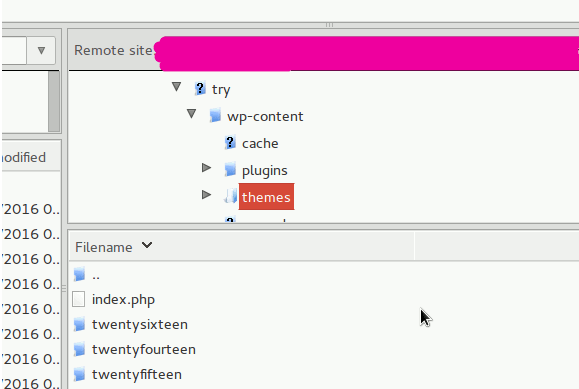
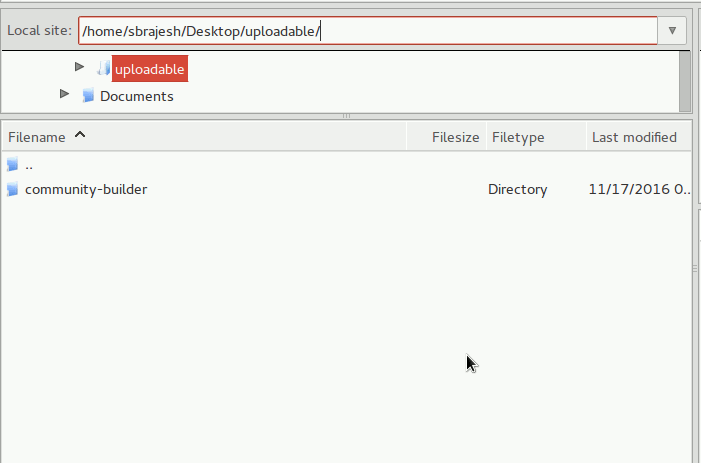
- Navigate to the directory containing unzipped community-builder directory. Here is an example.
- Right click on the community-builder. You will see a menu like this
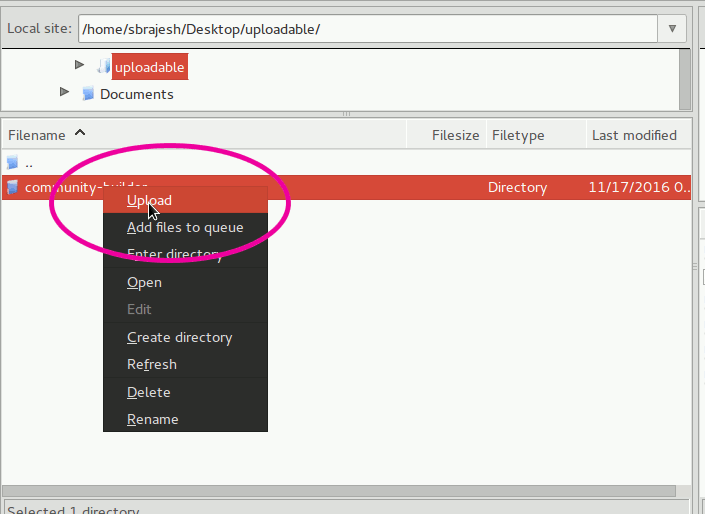
- Select Upload, and the theme will be uploaded to your themes directory.
- Now, login to your WordPress dashboard and Click the Appearance Menu.
- In the theme list, you will see the Community Builder theme. Activate it.
- Once the theme is Active, Please click Appearance->Customize and you can start customizing your site.
- Next step:- Customizing Sites with Community Builder
Note:-
Are you using Multisite?
- In case of multisite, the theme needs to be enabled from Network Admin->Themes screen before they will be available on your blogs.
- Also, you will need to upload the theme from Network Admin->Themes ->Add New screen
Next Step:- Customizing Community Builder.
We hope you will have a great experience building your social network. Please do share your experience in our forums.