In this post, you are going to learn about:-
We assume that you have already enabled the Taxonomy Creator in BuddyBlog Pro’s tools section.
Creating Taxonomy:-
- Click on the “Taxonomies” in the BuddyBlog Pro menu
- On the list screen, Click on “Add New Taxonomy” button as shown below
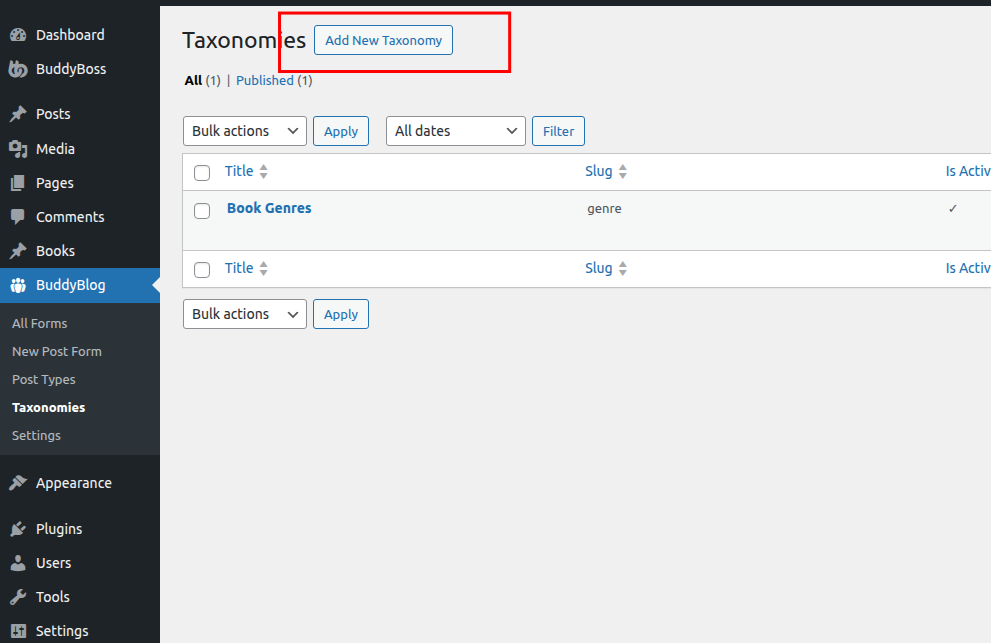
That will take you to the new taxonomy creation screen.
Taxonomy Creation/Edit screen options:-
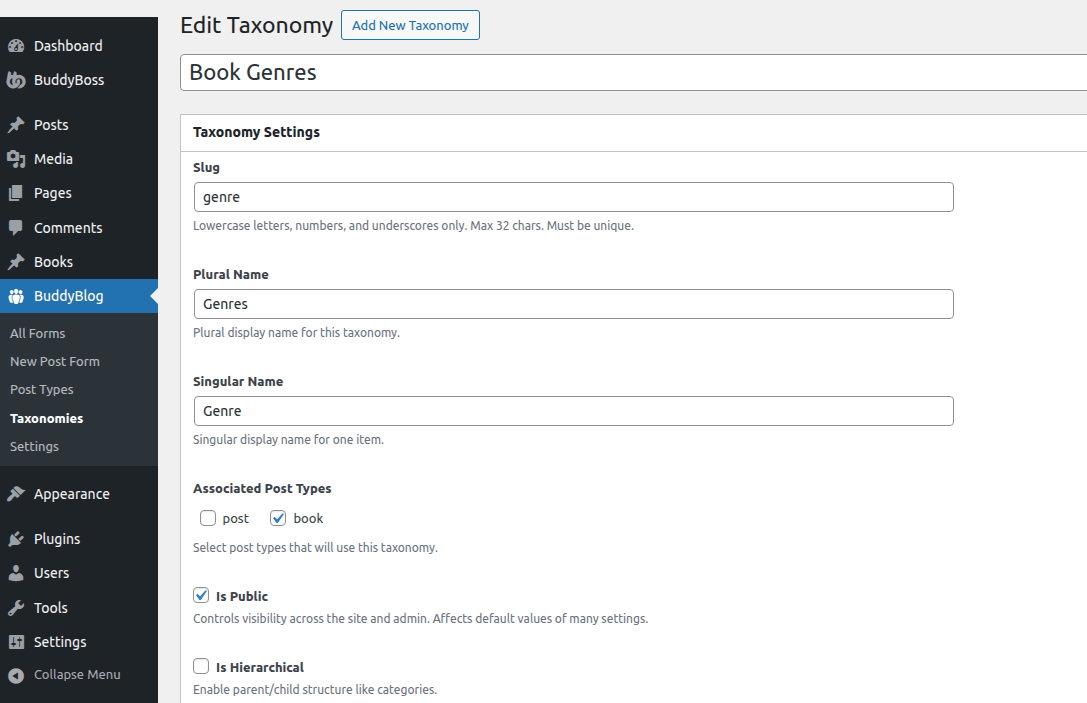
You will see the basic options(Advance settings is hidden by default) like below
Basic settings:-
Basic settings part 2:-
- Title – It is for your convenience(to remember what the taxonomy is, it is not used for registering taxonomy)
- Slug:- It is the unique taxonomy identifier, must be lower case, less than 32 characters and without any space.
- Plural label:- The plural name for taxonomy e.g. Genres.
- Singular Label:- The singular name for the taxonomy e.g. Genre.
- Associated Post Types:- Associate one or more post types with this taxonomy.
- Is Public:- Make this taxonomy public. It will be visible from front end to everyone
- Is Hierarchical:- Will the content be hierarchical like categories?
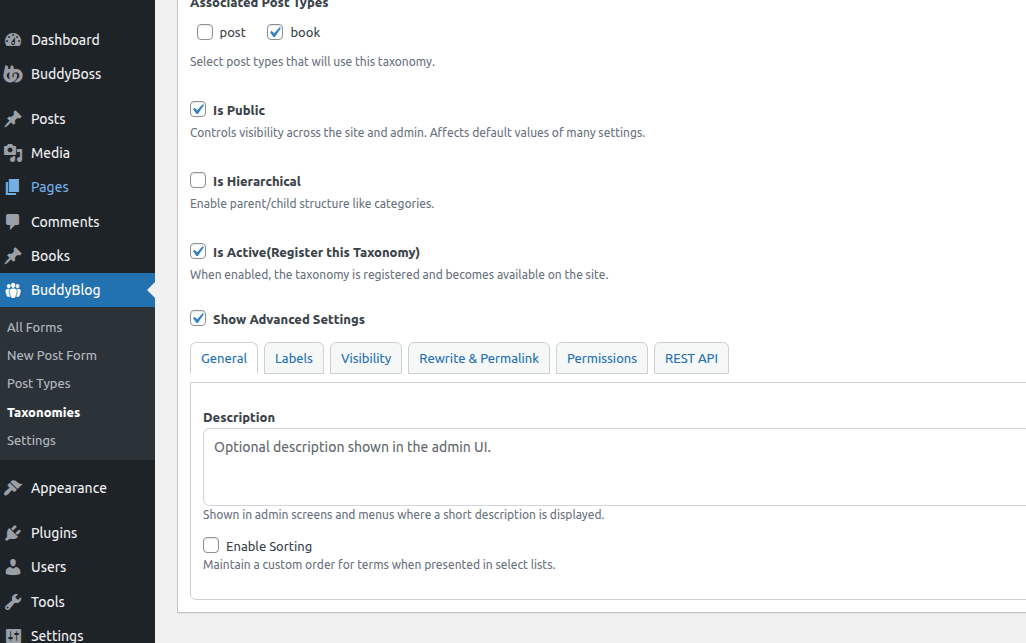
- Is Active:- Toggle to enable/disable the registration for this taxonomy. You need to keep it on to use this taxonomy.
- Show Advance Settings:- Toggle to enable advance settings. If you tick it, you will see a tabbed interface with advance settings as below
Advance Settings:- General
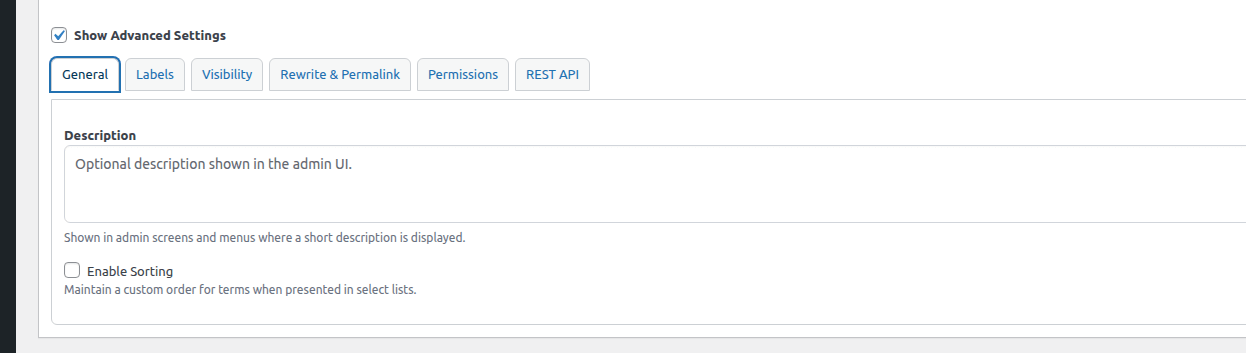
- The “General” tab allows you to define the optional description.
- You can enable/disable sorting for terms
Advance Settings:- Labels
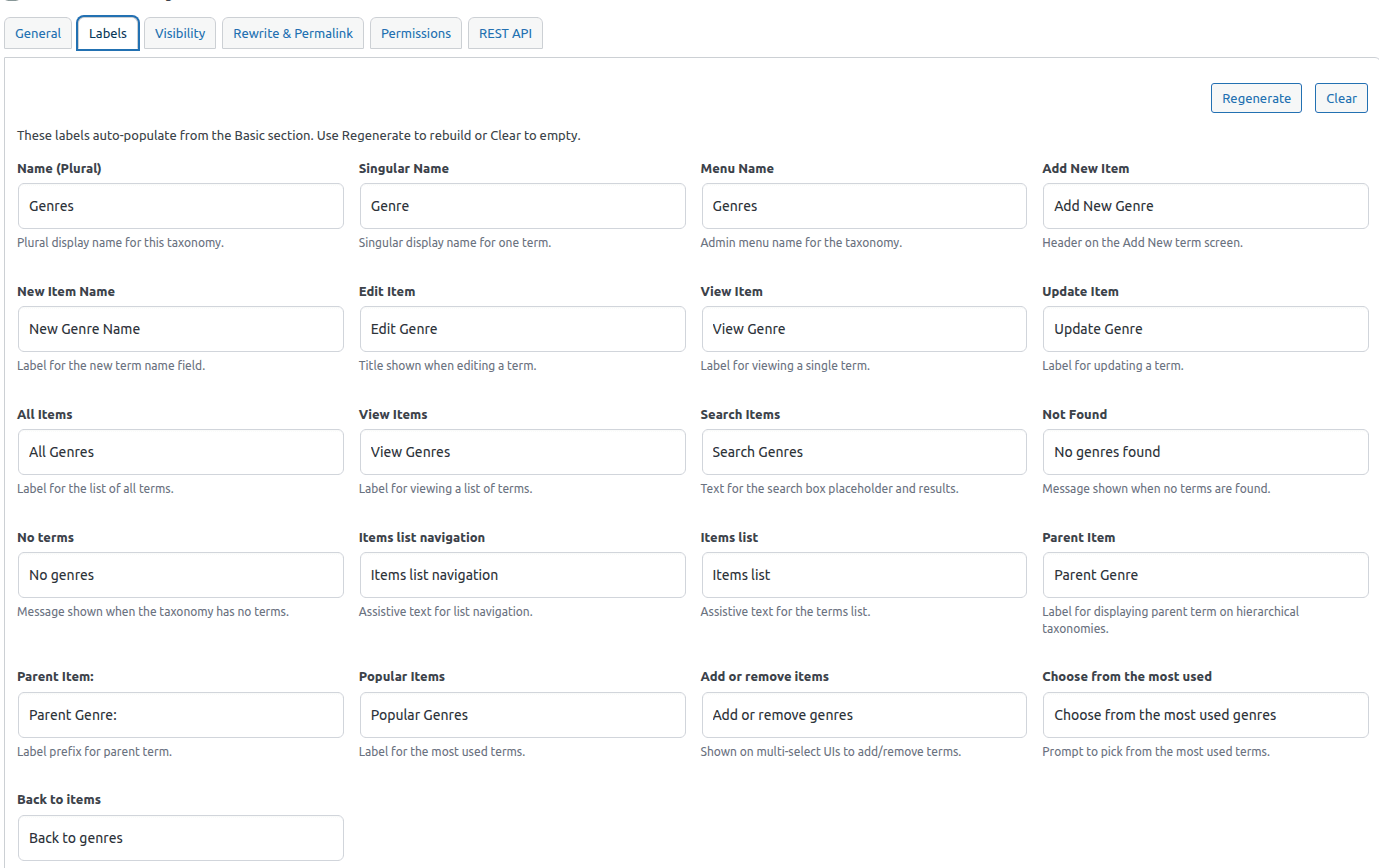
- Allows bulk editing all labels for the taxonomy.
- On a new taxonomy screen, if you change the Singular/Plural Label, the bulk options will be automatically updated.
- On edit taxonomy screen if you changed the singular or plural label, you can use “Regenerate” button to regenerate the labels from current Singular/Plural label.
- The “Clear” button allows you to clearing all the label fields.
- You can use this screen to update the bulk labels as you please(you can update entries manually if you need to do that).
Advance Settings:- Visibility
It allows you to control the various visibility options
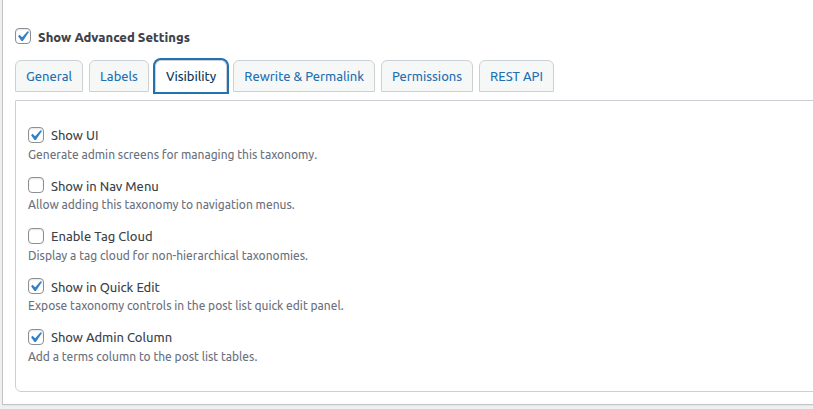
- Show UI:- Do you want to enable the UI for the Taxonomy in admin to creating/managing terms(generally, you should enable it).
- Show in Nav Menus:- Do you want the taxonomy terms to appear in nav menus for selection?
- Enable Tag Cloud:- Should it display tag cloud for non-hierarchical taxonomies.
- Show in Quick edit:- Should it be visible in associated post type’s quick edit.
- Show admin column:- Should there be a column added to associated post type’s list screen in admin with the associated terms list.
Advance Settings:- Rewrite & Permalink

- Permalink Rewrite:- You can opt to use the taxonomy slug as base in term permalink or you can specify a custom slug or you can disable permalink.
- Enable Hierarchical Permalink:- Should we enable hierarchical(parent/child slug) url for terms in hierarchical taxonomy.
- Publicly Queryable:- Will thistaxonomy be queryable from front end(accessible to everyone).
- Query Var:- If you are not a developer, ignore it. It is used in custom queries.
Advance Settings:- Permissions
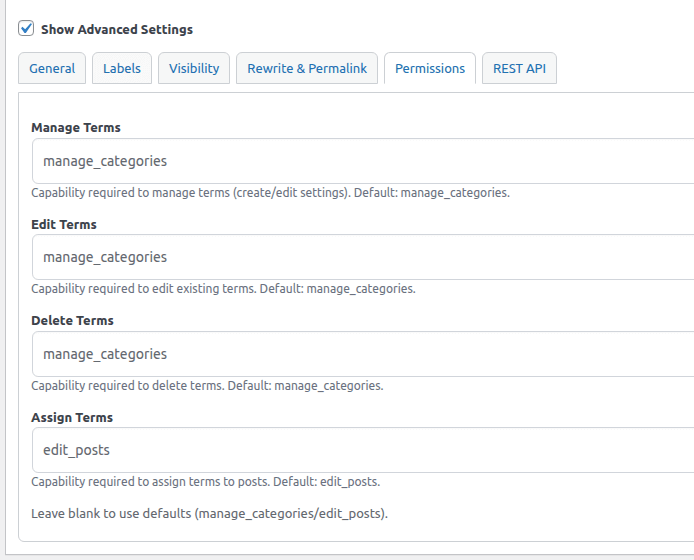
- You can set custom capabilities name for various actions here.
Advance Settings:- REST API
Whether to enable in REST API or not.
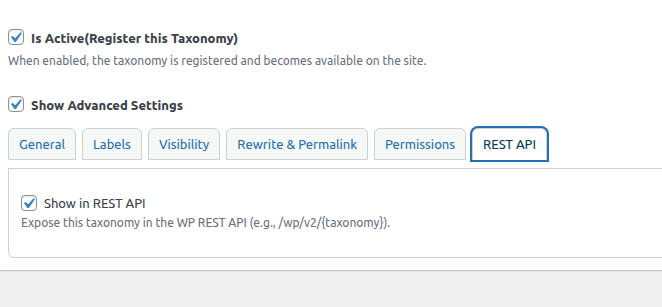
It must be enabled in REST API to be visible on the create/edit post type screen is using block editor.
Managing Taxonomies:-
- Click on the “Taxnomies” in the BuddyBlog Pro menu
- You will see a screen that will list all the taxonomies that you have created, and will allow to edit them as well as create new taxonomies.

You can
- Sort the by title, slug(actual taxonomy identifier) or activate state.
* Only a taxonomy which is set as “Active” and is published, will be registered.